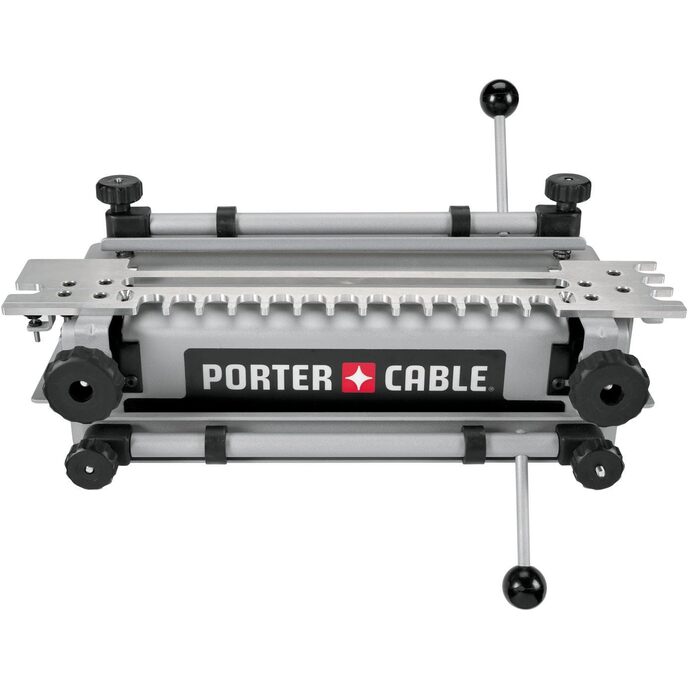
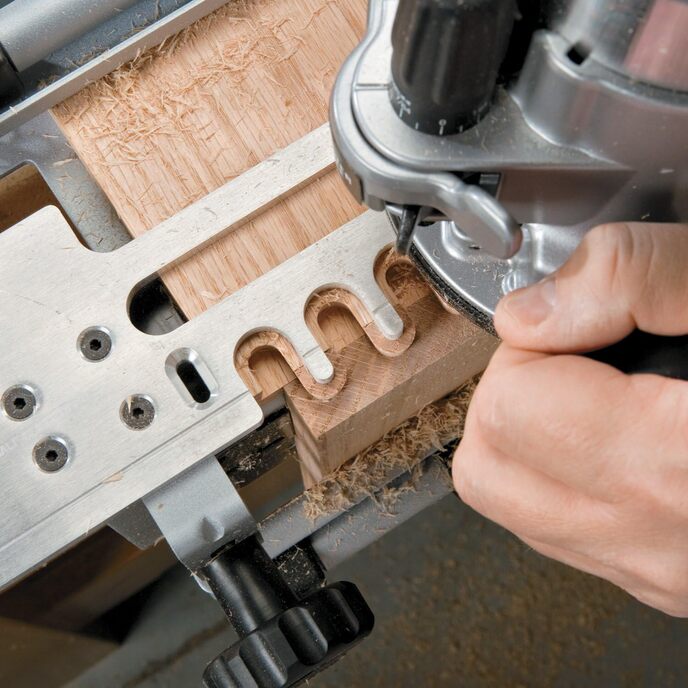
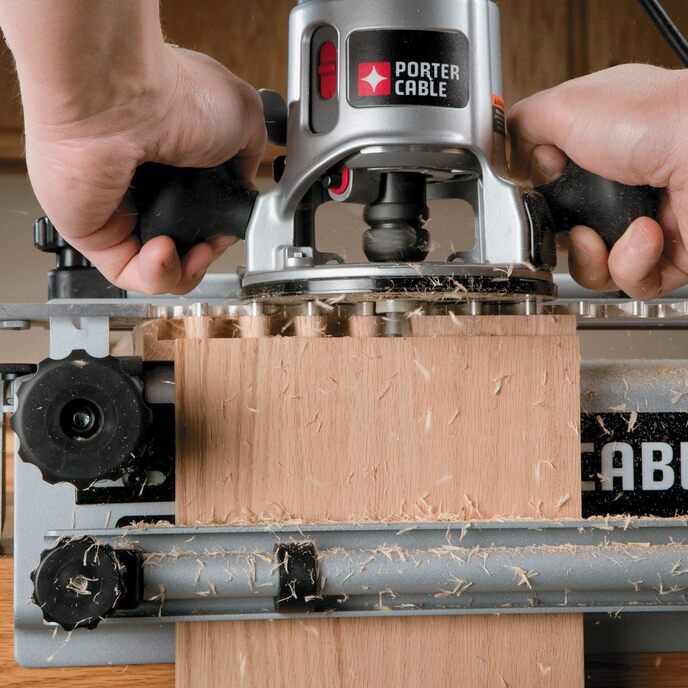
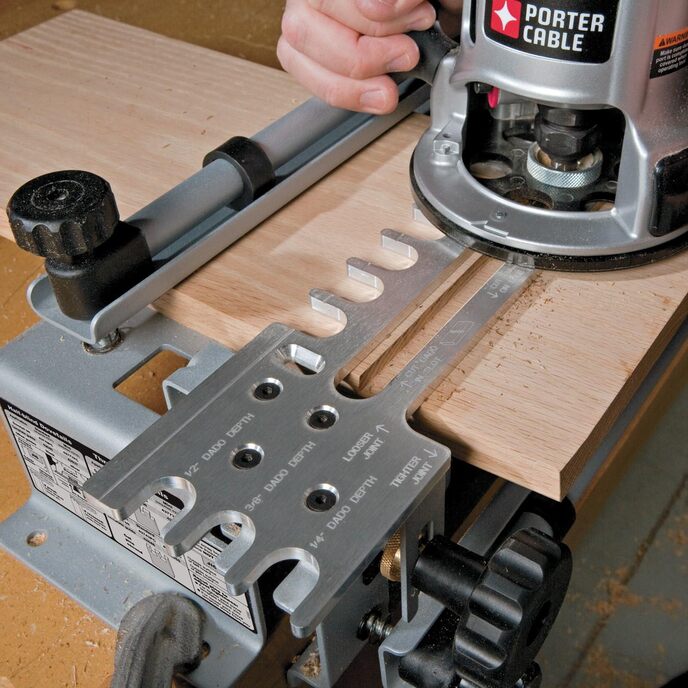
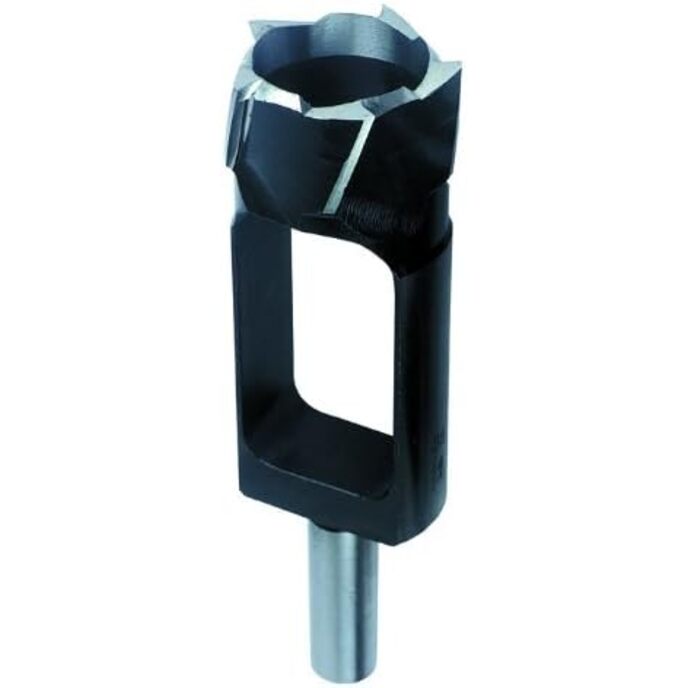
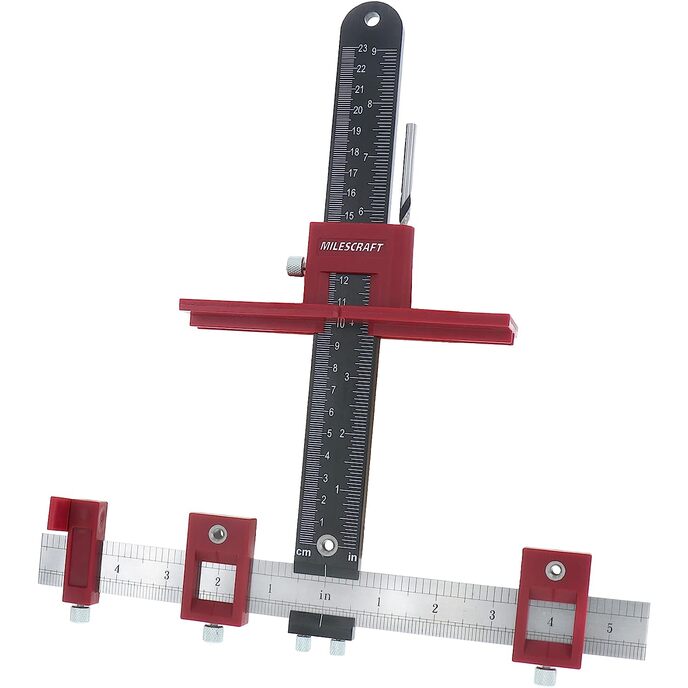
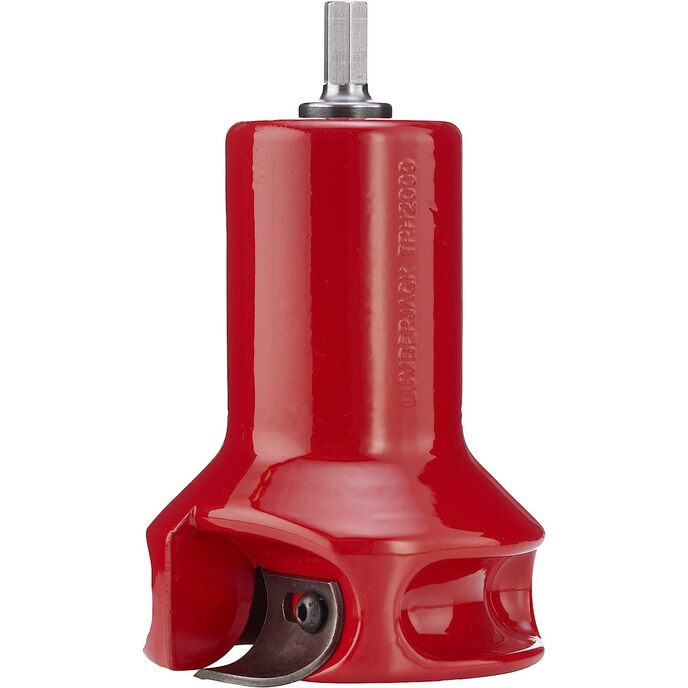
I used one of these jigs a number of times years ago and loved it. I recall that it was bulletproof, fast and worked well. I did recently build cabinet drawers, and decided to get this jig since it would be very time consuming with my incra jig. My time is worth more nowadays, and it is a bathroom vanity, not fine woodwork (though my woodwork is always fine). Jig looks nice and while it appears rigid, there are some small issues to note. 1- Offset gauge is inaccurate. What this means is that when you run through the process, your box you make, will have the top and bottom edges of the pins/tails offset by about 16". I ensured it was square and tried to adjust to no avail until I added some tape to the bottom gauge (tail) as there is no way to adjust. It worked, but not an acceptable solution. I contacted Porter Cable to see if they had a replacement.. It was disappointing as they acted as though they had no idea what the issue was, indicating I could return the unit and order another. I did, and had the same issue. It's something that can be resolved, and I plan to yank the guide out and sand the pin side down rather than using tap on the tail side. 2- Using the half blind template, it takes patience to get consistent results. You can't just set it and go like other tools, you really have to pay attention. The template is aluminum and somewhat rigid, but is easy to burden in the middle with modest pressure, which renders bad results commonly with dovetails themselves failing to be square, hence uneven from one side to the other. This is for two reasons. One, there just is not enough surface area on this unit to prevent the board from moving until it is locked down. So, during the process of preparing the pin and tail boards, there is movement, so you really have to focus on getting everything square and plum. (not just side to side, but forward and back). I believe part of the problem is in the design of the jig. Rather than having the large roundover on the base unit itself, I think squaring it off, rather having a very small bevel or roundover at the intersection will help prevent the wood from moving so much when you clamp it. Additionally, when you push the tail pin up, it can push the actual guide up a hint in the middle, which causes pin squaring issues. With the movement of the wood front to back, it also causes problems in centering the pins. Recognizing pressure is always the enemy in woodworking, you have to ensure you have a solid stop. Since this moves so much, you now have to rely on consistency in not just how you place the tail/pin, but also in the pressure used. It's tough, and I consider myself a good woodworker that requires very precise joints. One tip I discovered was to keep the prior pin board in the jig, but remove the already cut tail piece. Now, add the next tail board and clamp while holding/pushing down on the template itself that is on top of the pin board. This will help align the pieces. Once the tail board is clamped, you can now add the new/mating pin board, clamp and all is well. This achieved the most consistent results. 3- 1/2" stock is very tough for half blinds. You will need to have perfect router bit depth and consistency otherwise you will see gaps on the pin board. 5/8" or larger works well. 3- Depth setting of the router bit is critical/ There is an adjustment gauge on the jig you can set depth, but it is just to get close. Even once this is set, subsequent uses will still require you play with scrap to get it dialed in. Setup and squaring is always critical on tools, but the problem here comes if for some reason you may need the router for another operation. Do that, and you will have to go through the entire process again. So, do all drawers at once... 4- Tear out. You will need to do climb cuts, which means before routing the dovetails through, you will move the router to the opposite end of the template, and run a strait cut the wrong direction of the wood. This can be dangerous if you don't focus, but frankly can be common in woodworking to avoid tearouts. Just pay attention and take off maybe 1/8" off the face and all will be well. Also, to prevent tearout at the sides (bottom/top of drawer), use scrap material on the right side (looking at the front of jig) of BOTH pin and tail boards. It will provide a perfect cut with no tearout. Kinda hard to clamp holding onto so many pieces on the tail board, but is doable and the results don't lie. 5- During the routing process, you are somewhat blind, because you cannot see where the router bit is in relation to the board/jig. Since it's also hard to gauge just what pin you are on, I can imagine the catastrophe that is someone going too far with carbide bit meeting metal of the jig. I think there should be some form of safety stop to prevent this. There is not though, so I reassure myself by adding a couple small clamps at both sides of the template. This prevents me from going too far in any direction and concentrating on making a good cut 6- Make sure your guide on the router sub base is centered. I use a centering pin/cone to ensure the sub base of the router is perfectly centered. If this is not perfect, you will see gaps in your pins if you ever change orientation/spin the router. It's almost impossible not to spin orientation, at least for me, because I used the jig to rest my wrists, which in turn gives me more precision, control and accuracy. Just like other aspects of woodworking, consistency is key to a quality product. In all this jig works and can render great results. You just have to be extremely patient and willing to potentially waste a lot of scrap wood until which time you get the settings dialed in, and your method or process. Unlike other jig scenarios where they prevent your from ruining wood and are very precise, this takes some getting used to. I will keep mine because I plan on renovating my kitchen soon, otherwise I may consider reverting back to my incra jig. But again, I am all about precision and want my joints to be perfect....